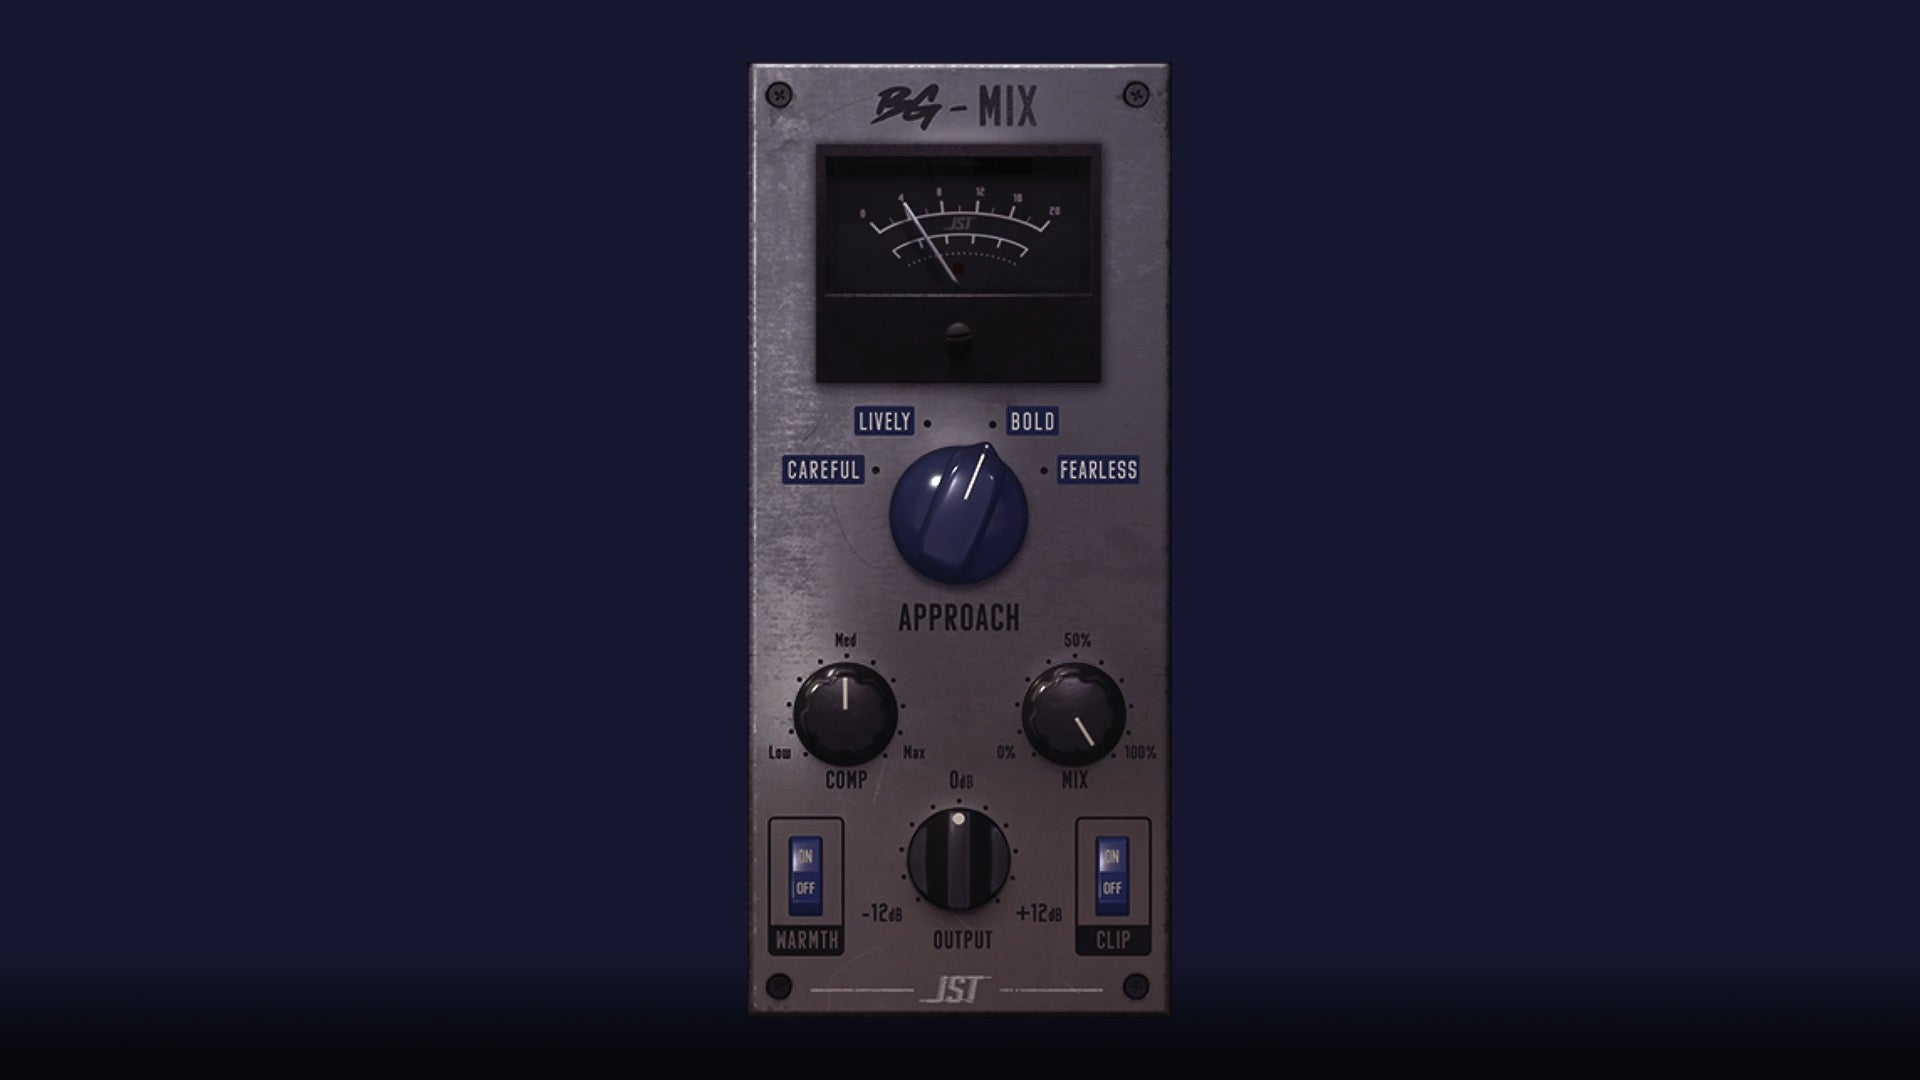
How To Use Mastering Compressors
 Has there ever been a more coveted piece of outboard gear than the master bus compressor? From SSL’s legendary bus compressor on their consoles to the Shadow Hills Mastering Compressor with an eye-watering price tag, these pieces of gear are sought out for their insane accuracy and ability to tie a song together. This ability makes the cost of entry worth it for many mastering engineers and mixers who want unparalleled quality on their tracks.
But even once you’ve got your hands on these beasts, the controls can feel a bit overwhelming. After all, you’re working with your stereo output – how do you make sure you’re not overdoing anything and avoid accidentally nuking the dynamics of your mix?
Compression Basics
The first place to start is with your compression basics. While many of these processors include bells and whistles that enhance or color their sound, the core functionality of a compressor is the same from your stock plugin to a several-thousand dollar piece of outboard gear. Master the basic, and mastering compressors become instantly easier to understand.

Here are some of the most common controls you’ll find on compressors – standard or mastering versions:
Threshold – the amplitude your signal needs to cross before the compressor starts attenuating
Ratio – the amount of attenuation that will be applied after your signal crosses the threshold
Attack – the speed at which the compressor will begin to attenuate the signal once the threshold is crossed
Release – how quickly the compressor stops attenuating once the signal returns below the threshold
By understanding what these four elements do and how they interact with each other, it becomes easier to dial in ANY compressor. This goes for everything from guitar pedals and stock plugins to mastering software/hardware.
The Key to Mastering Compression
The thing that largely sets mastering compression apart from other forms of compression is in the way you use it. In most cases, you’re going to want a more transparent sound in your mastering session. You may not even need compression – it all depends on the song.

Mastering compression should be felt, barely heard, and rarely seen. Most mastering engineers look for no more than 1 – 2 dB of gain reduction max. This means low ratios and relatively high thresholds. You may need to stack multiple compressors to handle attenuation in stages if significant compression is needed and a high-end mastering compressor isn’t available.
A classic example is the onboard SSL compressor in most of their consoles. There are dozens (if not hundreds) of engineers that like enabling this compressor for the slightest hint of compression. Not enough to move the needle on the meter – just enough to tie things together.
Perhaps even more important to the transparency of your compressor is how you dial in the attack and release. Too fast on either setting can kill your dynamics and make things start sounding a bit disjointed. If you set them too slow, your compressor is going to miss the biggest transients and compress the signal far beyond what’s needed.
A good balance for mastering is to set your attack to a fast speed (under 100 ms), that let’s a bit of your transient through to keep things punchy, without popping out of the song completely. From there, you’ll want to set your release to taste with the song. I like to get things dialed in so the compressor feels like it’s working in time with the song.
Getting the right mastering compressor settings is an art – it takes time to dial in and while there are general guidelines you can follow, it’s just like mixing… there is no one perfect approach.
In-The-Box Mastering
While there are some really amazing hardware compressors for mastering out there, it’s also worth discussing your in-the-box options; especially as people are looking to get into the mastering game without all of the startup costs.
If you’re looking to work with what you’ve got, there’s really nothing wrong with plugins and ever a few advantages that hardware can’t compete with.
The obvious benefit is flexibility. Instead of needing to pass your track through a hardware compressor multiple times to get “stages” of compression, you can simply stack compressors in the box. This can save time and give you some unique routing possibilities for your mastering chain.
The second benefit is feature set. Options like lookahead are really only possible in the box and things like multiband become much more available with affordable software options.
The reality is that not every compressor is optimized for mastering, but every compressor is capable of creating glue for your track. Finding the right compressor is a lifelong hunt for many engineers, so getting started by looking for your perfect option – hardware or software – is simply a matter of getting started on your search.
Mixing & Mastering Signal Chains
Compression is obviously just one of the tools used by mixers and mastering engineers in the studio along with dozens of others to get the best possible sound. Do you know where each of those tools should fall in your signal chain?
If not, check out our eBook, Virtual Signal Chain Secrets, where we go deep into the theories and reasoning for some of the most common signal chain approaches and how they improve your ability to mix and master music.


